

Mounting a TV is about more than just aesthetics; it's about protecting your investment with a solid, secure installation. When we talk about doing this right, using a tv mount stud is the only way to go. These vertical wooden beams inside your walls provide the non-negotiable structural support needed to hold your TV's weight. Trust me, trying to hang a heavy TV directly on drywall is a recipe for a very bad, very expensive day. For a complete selection of reliable options, you can browse our main collection of TV mounts.
Why Finding a Stud Is Non-Negotiable
Let's be clear: securing your television to a wall stud is the single most critical step for a safe, permanent installation. Drywall is just compressed gypsum powder sandwiched between paper—it was never meant to handle the focused weight and leverage of a modern flat-screen TV. When you anchor your mount directly to a stud, you’re sinking those lag bolts into the solid wood skeleton of your home.
This direct connection to the house's frame is what prevents the mount from pulling loose and sending your expensive TV crashing to the floor. It's a method that's become incredibly popular for a reason. The global TV mount market is even projected to skyrocket from USD 13.50 billion in 2023 to USD 46.74 billion by 2031.
The Key Takeaway: A stud provides the only anchor point strong enough to safely support the weight of your TV. Skipping this step is not a shortcut; it's a significant risk to your property and safety.
Understanding Your Wall's Structure
The walls in your home are more than just flat surfaces; they're complex structures. Putting safety first means having a basic grasp of these structural elements, which includes understanding load-bearing walls. Finding the studs inside those walls is your first and most important mission.
Proven Methods for Locating Wall Studs
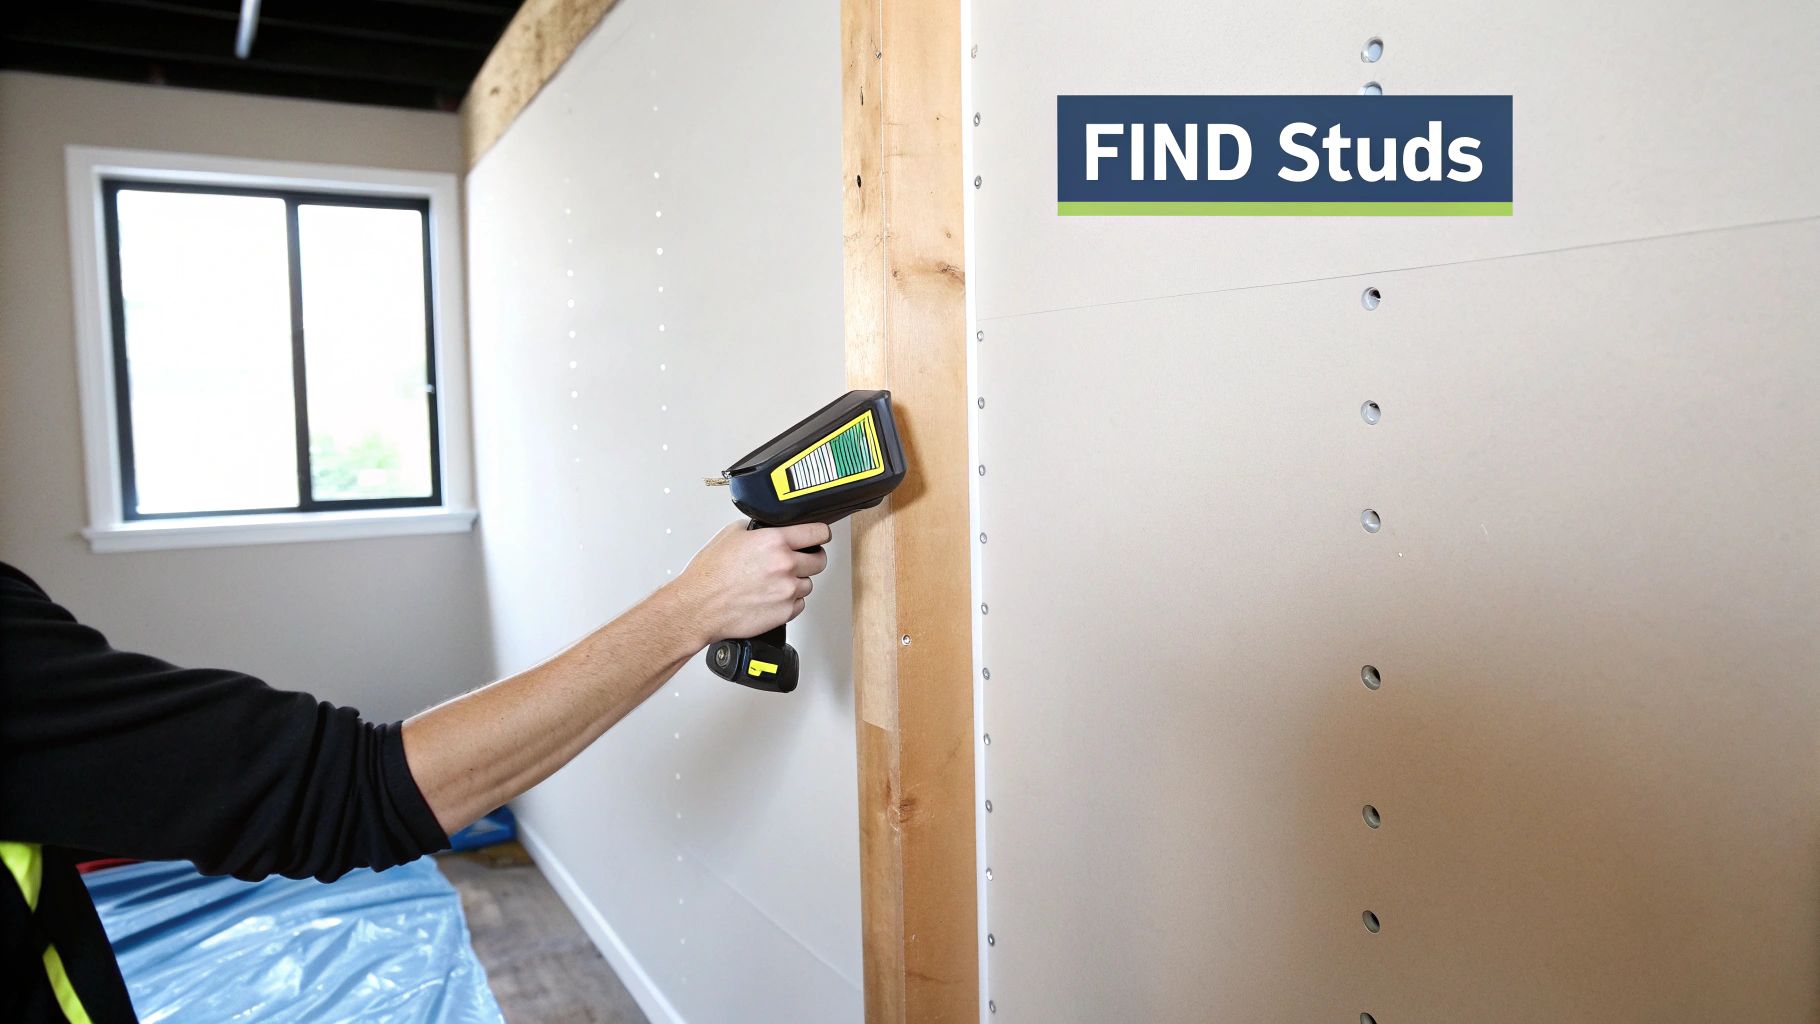
Alright, time to get hands-on and find those structural supports hiding behind your drywall. The absolute most reliable way to find a tv mount stud is with an electronic stud finder. It's a cheap and easy-to-use tool that completely removes the guesswork, so you know you're drilling into solid wood every single time.
First things first, you have to calibrate the device. Just place it flat against the wall, somewhere you know is empty, then press and hold the power button until you hear a beep or see a light. This quick step basically teaches the finder what an empty patch of wall "feels" like, so it can spot the change in density when it passes over a stud.
Using a Stud Finder with Precision
Once it's calibrated, just slide the stud finder slowly and horizontally across your wall. You'll see it start to light up or hear it begin to beep as it gets close to a stud. Don't stop at that first signal, though—that's just the leading edge. Keep moving until the signal dies down, then come back from the other direction to find the other edge.
The goal here is to pinpoint both sides of the stud. A standard wall stud is 1.5 inches wide. Mark both edges with a pencil and measure between them to be sure you've found the whole thing. The sweet spot right in the middle of those two marks is where you want to drill.
This image lays out the process perfectly, from calibrating the tool to finding that center point.
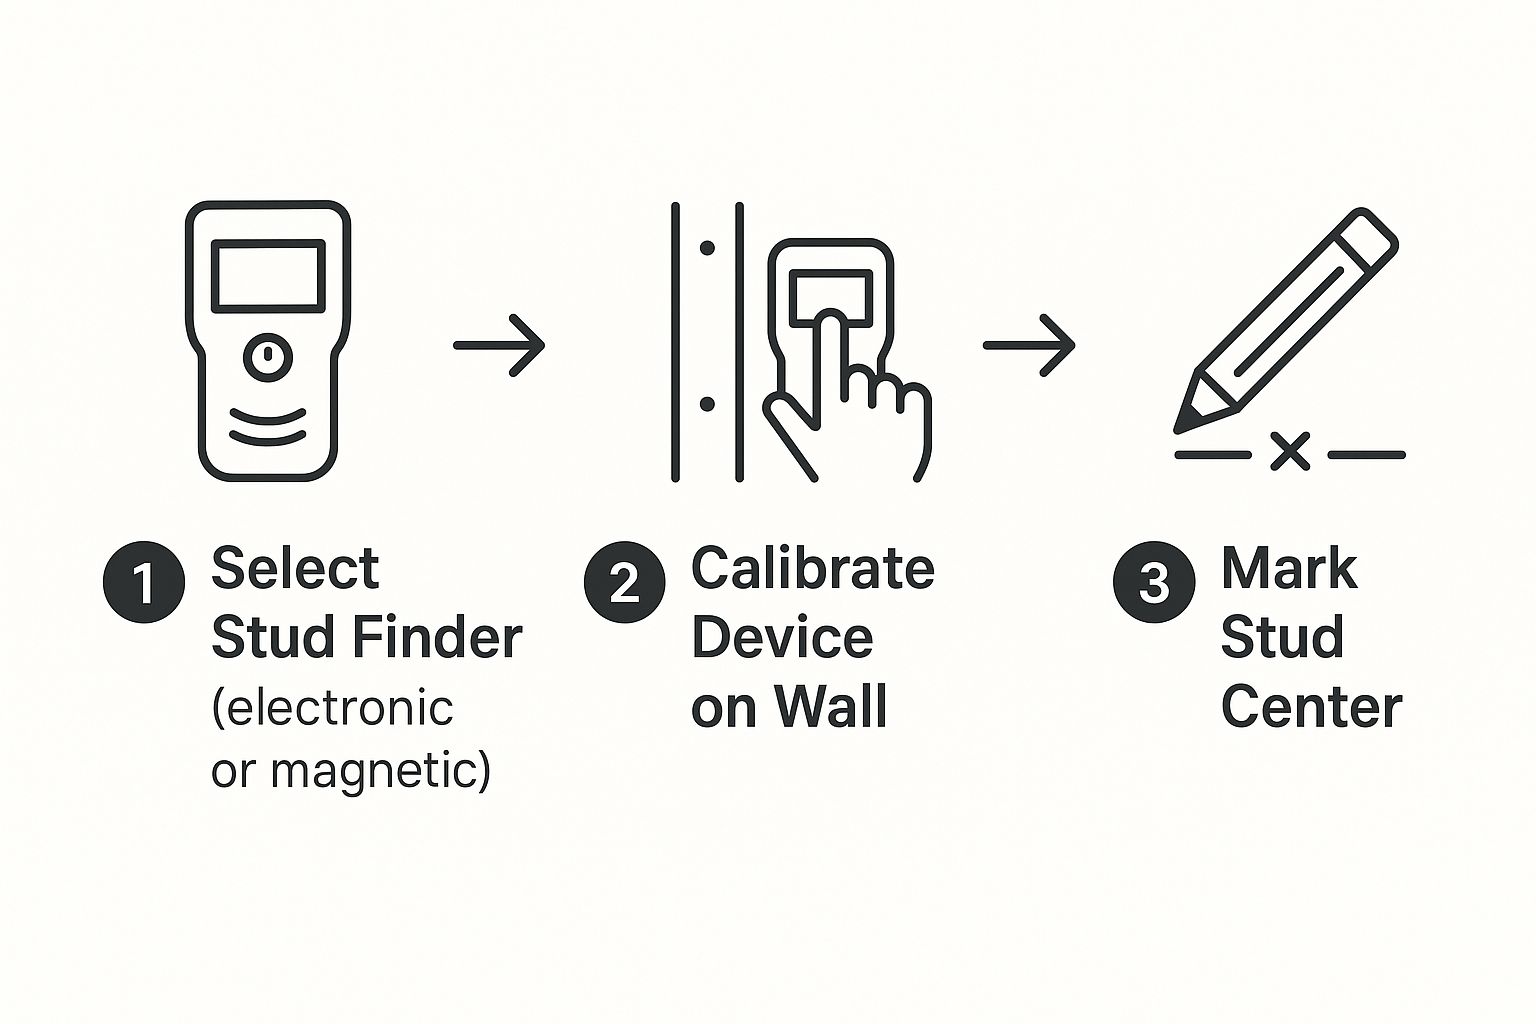
It breaks down the process into selecting your tool, calibrating it on the wall, and accurately marking the stud’s center for a perfect anchor point.
Low-Tech Methods and Final Confirmation
What if you don't have a stud finder on hand? No problem. You can still get the job done with a few old-school techniques. The classic "tap test" is surprisingly effective—just knock lightly along the wall and listen for the sound to change from a hollow echo to a solid, dull thud. That thud is your stud.
You can also use your home's electrical outlets and light switches as a guide. They're almost always attached to the side of a stud, so you can usually find one by checking just to the left or right of an electrical box.
Pro Tip: Once you find one stud, you can typically find its neighbors by measuring 16 or 24 inches to the left or right, which is the standard spacing in most homes. Just be sure to double-check each new stud location before you drill.
No matter which method you go with, there's one final step before you drill: confirmation. Grab a small finishing nail and gently tap it into your marked center point. If you feel solid resistance after getting through the drywall, you’ve hit wood. If it slides in too easily, you missed. The good news is you’ve only made a tiny hole that’s super easy to patch. This final check gives you total peace of mind.
If you hit a snag or just want more general advice on mounting, our team is always ready to help. You can get expert advice from our support team.
Preparing For a Perfect Installation
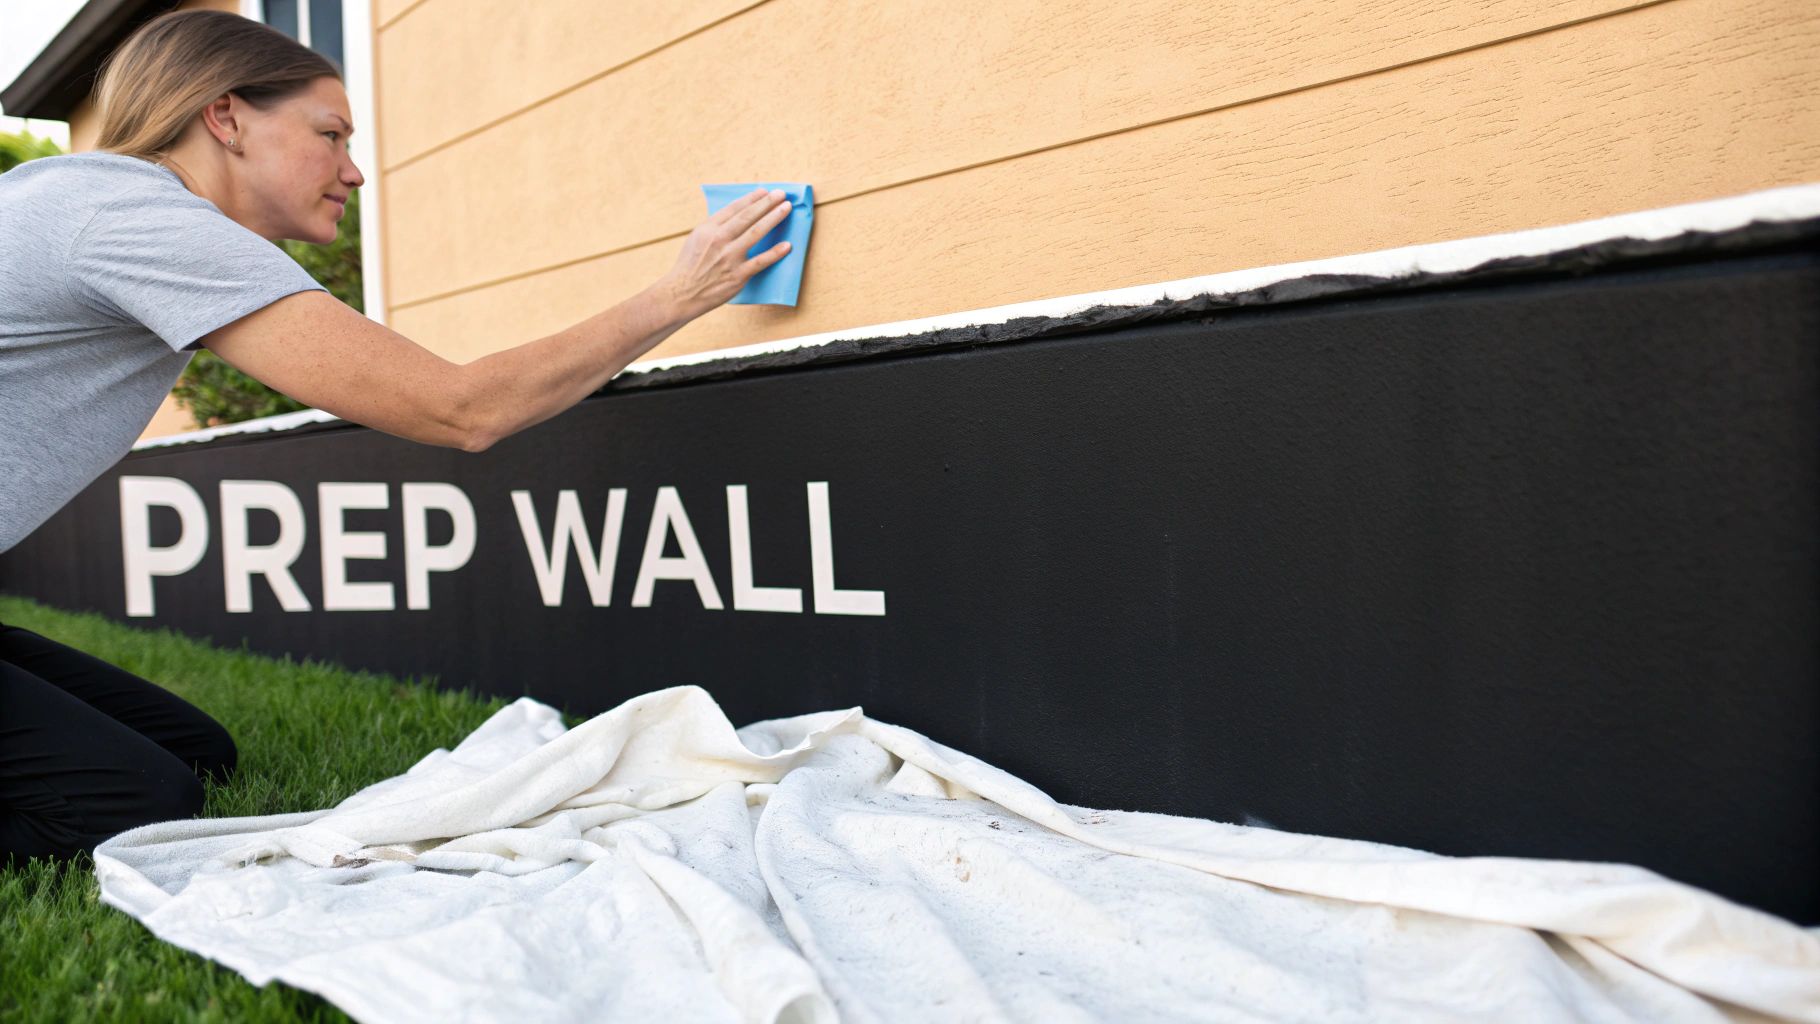
You've found your studs and marked them out. It’s tempting to grab the drill and just go for it, but hold on. Taking a few extra moments here is what separates a sloppy, crooked TV from a professional-grade installation. This is your chance to guarantee a level, secure, and perfectly positioned final result.
First things first, let's talk about drill bits. You need to choose the right one for the lag bolts that came with your TV mount. These are heavy-duty bolts, and they need a pilot hole that’s slightly smaller than their own diameter. For example, a 5/16-inch lag bolt usually calls for a 3/16-inch pilot hole. This detail is more important than it seems—a hole that's too small can split the stud, but a hole that's too big means the bolt won't grip properly, compromising the entire setup.
Crucial Tip: Don't eyeball this. Your tv mount stud hardware will include instructions specifying the exact pilot hole size. Stick to that recommendation to ensure the lag bolts bite firmly into the wood for maximum holding power.
Setting The Height and Ensuring a Level Mount
Now it's time to live by the old carpenter's motto: "measure twice, drill once." To find your ideal viewing height, have a friend help you out. Sit where you'll normally watch TV and have them measure from the floor to your eye level. That measurement should be the center point of your screen.
With your ideal height in mind, hold the mount's wall plate against the wall, lining it up with your stud marks. Before you even think about marking your drill holes, place a small torpedo level on the top edge of the plate. Fiddle with it until that bubble is perfectly centered.
Once you’re sure it's level, use a pencil to mark the drill points through the holes in the mount. This one simple action is the secret to avoiding that frustrating, slightly-askew TV that will bug you forever.
These same principles of finding studs for a secure anchor point apply to other projects, too, like getting rock-solid DIY floating shelf installations. And for a complete A-to-Z guide on this project, check out our detailed TV mount installation guide.
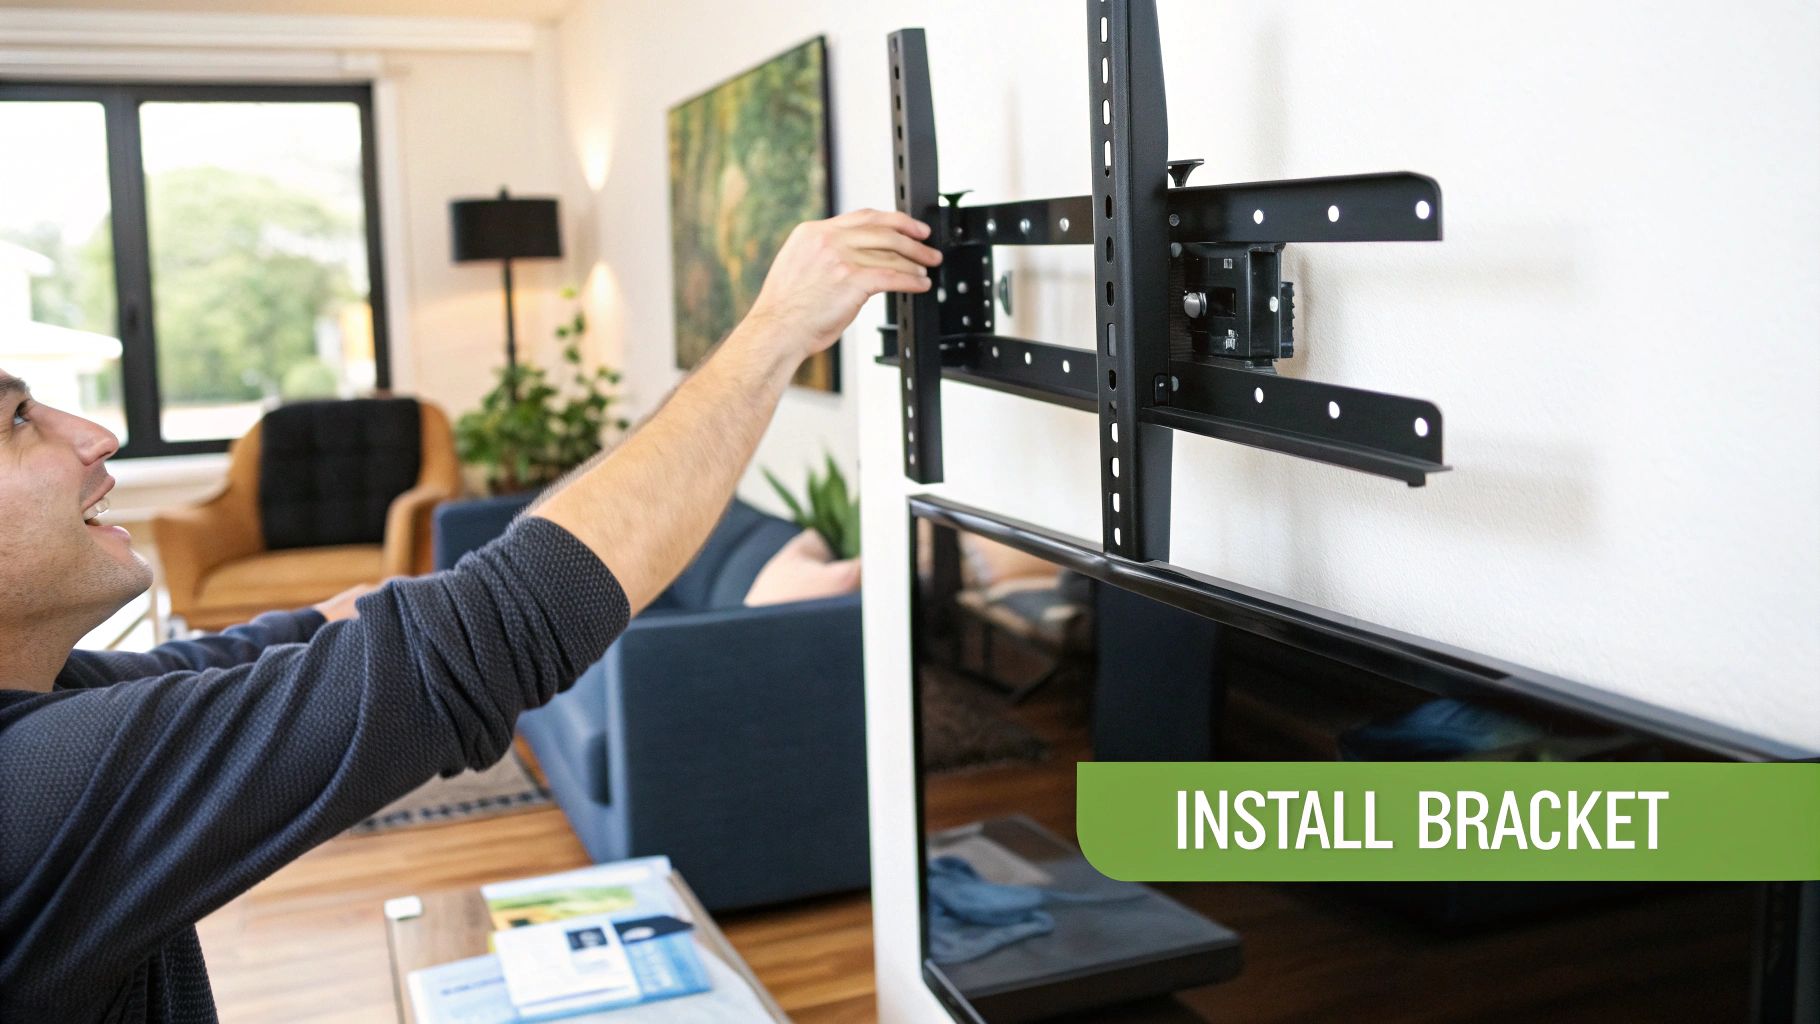
Mounting the Bracket and Hanging Your TV
With your pilot holes drilled right into the heart of the studs, the hard part is officially over. Now for the satisfying part: getting the hardware on the wall and finally hanging your new screen.
First up is the wall plate. Think of this as the backbone for your entire setup. I always reach for a socket wrench here. It gives you the leverage you need to drive those big lag bolts firmly into the wood without stripping the heads—a frustratingly common problem if you just use a power drill.
Drive each lag bolt in until the washer is snug against the wall plate. The goal is to get it tight, but don't go overboard.
Expert Tip: The moment you feel solid resistance and the plate has zero wiggle, stop turning. If you overtighten, you risk crushing the drywall behind the mount or, even worse, stripping the wood inside the stud. That completely ruins the bolt's grip. You're aiming for firm and secure, not crushed.
Attaching Brackets to Your TV
While the wall plate is ready, let's turn our attention to the TV itself. You'll need to attach the vertical mounting arms (the brackets) to the back. This is where you'll find the VESA pattern, which is just a fancy name for the four standardized mounting holes.
Your mount kit probably came with a bag full of different screws and spacers. Here's how to get a perfect fit:
- Pick the Right Screws: Gently hand-thread a few different screw sizes from the kit into the VESA holes. The correct one will go in smoothly without feeling loose or wobbly.
- Use Spacers if Needed: Does your TV have a curved or bumpy back? Use the included spacers. They create a flat, stable surface for the brackets to rest against, which prevents uneven pressure on your screen.
- Tighten Securely: Attach the brackets with the right screws. Make them firm, but again, don't crank down on them too hard.
The Final Lift
I can't stress this enough: this is a two-person job. Don't even think about trying it alone. With a partner, each of you should lift the TV by its sides—never from the top or bottom edges.
Carefully bring it over to the wall plate and hook the TV's brackets onto the plate. Most mounts will give you a satisfying "clunk" or click as they lock into place.
Once it's hanging, there's one last thing to do. Engage any locking mechanisms. These are usually small screws you tighten or pull-cords at the bottom of the brackets. They're critical because they keep the TV from being accidentally knocked or lifted off the mount.
If this feels a bit out of your comfort zone or you're dealing with a tricky installation (like brick or a massive TV), it's never a bad idea to look into professional TV mounting services to get the job done right.
How to Troubleshoot Common Mounting Problems
 Even with the most careful planning, you can hit a snag during installation. It happens. The most common hiccup I see is discovering the wall studs aren't perfectly centered right where you want your TV. Don't panic—this doesn't mean you have to settle for an off-kilter screen.
A fantastic, and frankly easy, solution is to use a sliding or full-motion TV mount. The design of these mounts lets you shift the screen left or right along the wall plate after it’s secured to an off-center tv mount stud. This gives you several inches of wiggle room to get that perfectly centered look without drilling new holes.
Another pro-level technique involves creating your own custom mounting surface. Just secure a piece of 3/4-inch plywood horizontally across two or more studs. This backer board creates a super-solid anchor point, giving you the freedom to attach the TV mount literally anywhere along its surface.
Handling Tricky Wall Types and Loose Bolts
What happens when you don't have standard wood studs? Metal studs, which are common in many apartments and commercial buildings, call for a different approach. You'll need specialized toggle bolts or anchors specifically designed to grip thin metal. Trying to use the standard lag bolts that came with your mount will fail because they just can't get a proper bite.
Plaster walls, often found in older homes, can also be a headache. They're brittle and do a great job of hiding the studs underneath.
Key Insight: If a lag bolt feels loose when you're tightening it, or you accidentally made the pilot hole a bit too big, stop! Don't just crank on it. A simple fix I’ve used countless times is to stick a few wooden toothpicks or a golf tee coated in wood glue into the hole. Let it dry, and it will reinforce the wood, giving the bolt a fresh, tight grip.
Turning a frustrating roadblock into a simple fix is what separates a DIY headache from a successful project. With the fixed TV wall mount market estimated to hit USD 2.45 billion globally by 2025, it’s clear a lot of people are tackling this project and winning.
For more specific troubleshooting help, our frequently asked questions page is packed with quick answers.
Got Questions Before You Start Drilling?
We’ve walked through the main steps of mounting your TV, but it's completely normal to have a few more questions pop up before you grab your drill. Let's tackle some of the most common concerns people have, so you can move forward with total confidence.
Can I Just Mount a TV Directly to Drywall?
I get this question a lot, and my answer is almost always a firm "no." Mounting a TV without hitting a stud is a huge gamble. Plain drywall simply isn't engineered to handle the combined weight and leverage of a modern television, and it's a recipe for a disaster that ends with your TV on the floor.
While you might see specialized drywall anchors on the market, they're really only meant for very small, incredibly lightweight screens. They are absolutely not a safe substitute for the solid, structural security you get from a tv mount stud.
What if My Studs Are Spaced Wider Than 16 Inches?
It's pretty common, especially in newer homes, to find studs spaced 24 inches apart instead of the standard 16. Don't worry, most TV mounts are built to handle this wider spacing.
But what if your studs are in a really awkward spot or your ideal TV location is right between them? The pro solution is to first mount a piece of 3/4-inch plywood across the wall, securing it firmly into the studs. This creates a super-strong mounting surface, giving you the freedom to attach your TV mount anywhere you want on the panel.
Pro Tip: Want to find the perfect viewing height? Sit down on your main couch and have someone measure from the floor to your eye level. That measurement is your target for the center of the screen. It makes a world of difference for comfortable viewing.
If you’re ever second-guessing which mount or hardware is right for your specific TV and wall, you can find the perfect match in seconds with our handy TV mount finder.
Feeling ready? Go ahead and explore the full lineup of secure, easy-to-install mounting solutions from Mount-It! at mount-it.com. You're just a few steps away from that clean, professional look for your home entertainment setup.