


Adding a second monitor to your computer is one of those upgrades that seems like a small change but completely transforms how you work. It’s not just for programmers or video editors anymore; it’s a practical move for anyone who feels bogged down by constantly switching between windows.
A dual monitor setup lets you connect a second display to your computer, essentially doubling your digital workspace. This simple hardware addition can boost your productivity by a surprising up to 30%.
Why Two Screens Are Better Than One
Before we get into the nuts and bolts of hooking everything up, let's talk about why this setup is so effective. It’s more than just a tech trend; it’s a fundamental shift in how you interact with your computer.
The real magic is in eliminating the constant shuffle of open windows. Think about that tiny bit of friction every time you Alt-Tab between your email and a spreadsheet, or a research article and your Word document. Each switch, no matter how quick, pulls you out of your flow.
Now, picture a developer with code on one screen and live documentation on the other. Or a content creator writing a script on their main monitor while keeping all their sources visible on the second one. This kind of parallel workflow is the secret to a more organized, less chaotic digital environment.
The Real-World Productivity Gains
The perks go beyond just convenience. When you dedicate one screen to your primary task and another to secondary things like communication or reference materials, you cut down on cognitive load. This makes it easier to stay focused for longer stretches. It's especially powerful for complex projects that demand cross-referencing information.
Understanding these core benefits, including learning how to increase employee productivity, is the first step before you start plugging in cables.
Studies have consistently shown that a dual monitor setup can give your productivity a serious boost. The improvement comes from multitasking more effectively and slashing the time you waste toggling between apps. For a deeper dive, you can explore the many benefits of dual monitors in our detailed article.
The move to multiple monitors isn't new, but it's picked up steam thanks to affordable flat-panel LCDs. Recent market data shows this isn't just a hunch; the global PC monitor market is expected to grow over 2% annually in 2024 and 2025. What's interesting is that gaming now drives 20% of monitor shipments, which tells us that both professionals and gamers are seeing the value in more screen space. You can discover more insights about these market trends on IDC.com.
Creating a Streamlined Workflow
So, how does this look in practice? A dual monitor setup gives you a few key advantages for a more efficient day:
- Better Comparisons: No more resizing windows to compare documents, images, or data. Just place them side-by-side.
- Dedicated Communication: Keep Slack, Teams, or your email open on one screen. Your main display stays clear for focused work.
- Instant Information Access: Have reference guides, video tutorials, or a Zoom call visible on one screen while you work on the other.
Ultimately, adding that second screen empowers you to build a workspace that fits your specific needs, helping you get more done with a lot less hassle.
Choosing the Right Monitors and Gear
Building the perfect dual monitor setup is about more than just grabbing a second screen. The real magic happens when you choose hardware that works together seamlessly. Getting the foundation right means matching key specs and making sure everything is compatible before you open your wallet.
It all starts with your computer. Before you even think about monitors, take a quick look at your PC or laptop. What video output ports do you have? You'll likely see HDMI, DisplayPort, or the super-versatile USB-C. Knowing what you're working with will guide your entire purchase, helping you avoid the headache of buying a monitor you can't even connect.
This simple two-minute check is the difference between a smooth setup and a frustrating trip back to the store.
Decoding Monitor Specifications
Once you know what your computer can handle, it's time for the fun part: picking your monitors. While it's easy to get swayed by a good sale, a few key specifications will make or break your daily experience.
- Resolution and Size: For the smoothest look, try to get two monitors with the same size and resolution. When you drag a window from a 24-inch 1080p screen to a 27-inch 4K display, the window suddenly resizes because of the difference in pixel density. It's not a deal-breaker, but it can be jarring. Identical models make everything flow perfectly.
- Refresh Rate (Hz): This is how many times your screen updates per second. A standard 60Hz monitor is fine for most office tasks. But if you want buttery-smooth motion for gaming or even just scrolling through websites, a 120Hz or higher refresh rate is a game-changer.
- Panel Type: Not all screens are created equal. Different panel technologies offer unique benefits. IPS (In-Plane Switching) panels are the go-to for their incredible color accuracy and wide viewing angles, making them perfect for creative work. VA (Vertical Alignment) panels deliver deeper blacks and better contrast, while TN (Twisted Nematic) panels have the fastest response times, a must-have for competitive gamers.
A well-planned setup doesn't just look good; it can seriously boost your productivity by giving you a more organized and expansive digital workspace.
As you can see, the right gear creates a command center that makes multitasking feel effortless—a key goal for anyone building a dual monitor rig.
Monitor Feature Comparison for Different Users
The "best" monitor really depends on what you'll be doing. A graphic designer, a data analyst, and a professional gamer all have wildly different needs. This table breaks down what to look for based on your primary workflow.
| Feature | Office/Productivity | Creative/Design | Gaming |
|---|---|---|---|
| Resolution | 1080p or 1440p is plenty of space for documents and spreadsheets. | 1440p or 4K for sharp details and maximum screen real estate. | 1080p for high frame rates, or 1440p/4K for immersive visuals. |
| Panel Type | IPS for good viewing angles and comfortable text clarity. | IPS is essential for its superior color accuracy (99%+ sRGB). | TN for the fastest response time, or IPS for better colors in story-driven games. |
| Refresh Rate | 60Hz is standard and perfectly adequate for daily tasks. | 60Hz is fine, but 120Hz+ provides a smoother editing experience. | 120Hz or higher is critical for fluid, responsive gameplay. |
| Size | 24-inch to 27-inch offers a great balance of size and clarity. | 27-inch to 32-inch provides a large canvas for detailed work. | 24-inch for competitive focus, 27-inch+ for immersive experiences. |
Ultimately, choosing the right monitor means aligning its features with your daily tasks to get the most value and performance out of your investment.
Matching Monitors to Your Workflow
For general office work, a pair of 24-inch or 27-inch 1440p monitors with IPS panels is a fantastic sweet spot. The colors are easy on the eyes, and you'll have plenty of screen real estate for all your applications.
Pro Tip: If you're mixing and matching screens, try to keep the pixel density (PPI) similar. For example, a 24-inch 1080p monitor and a 27-inch 1440p monitor have nearly identical PPI, which creates a much more consistent experience when moving windows between them.
Creative professionals like photographers and video editors should hunt for IPS panels that cover 99% or more of the sRGB or Adobe RGB color gamuts. For this line of work, 4K resolution is often the standard for its incredible detail.
Meanwhile, the gaming community has pushed monitor technology forward in a huge way. The global gaming monitor market was valued at USD 11.35 billion in 2025 and is only getting bigger. This demand fuels innovation in high refresh rates and lightning-fast response times—features that are now common in dual monitor rigs for streamers who need one screen for the game and another for their chat and software. You can dive deeper into these trends by checking out the full research about the gaming monitor market.
Understanding Your Connectivity Options
Finally, let's talk cables. Knowing the difference between connection types will make the final setup a breeze.
- HDMI (High-Definition Multimedia Interface): The most common connection out there, found on just about every modern monitor and TV. It conveniently carries both video and audio.
- DisplayPort: A favorite for computer monitors, as it often supports higher refresh rates and resolutions than HDMI. It’s the top choice for many gamers and power users.
- USB-C: The all-in-one champion. A single USB-C cable can handle video, audio, data transfer, and even deliver power to charge your laptop. It's the key to an incredibly clean and minimalist desk.
Before you click "buy," double-check that your monitor's inputs match your computer's outputs. If not, you'll need to grab an adapter or a docking station. For a closer look at the gear that brings it all together, explore our articles on mastering your ideal workspace.
Designing Your Workspace for Comfort and Focus
So, you've plugged in your monitors. That's the easy part. The real magic of a dual monitor setup comes from creating a workspace that actually supports your body and mind for long stretches of focused work. This is where ergonomics comes in, turning a merely functional setup into a truly comfortable and productive one.
Getting the arrangement right isn't just a nice-to-have; it's essential for avoiding the neck strain, eye fatigue, and back pain that inevitably show up with a poorly configured desk. The goal is simple: make your tools adapt to you, not the other way around.
Monitor Placement and Mounting Options
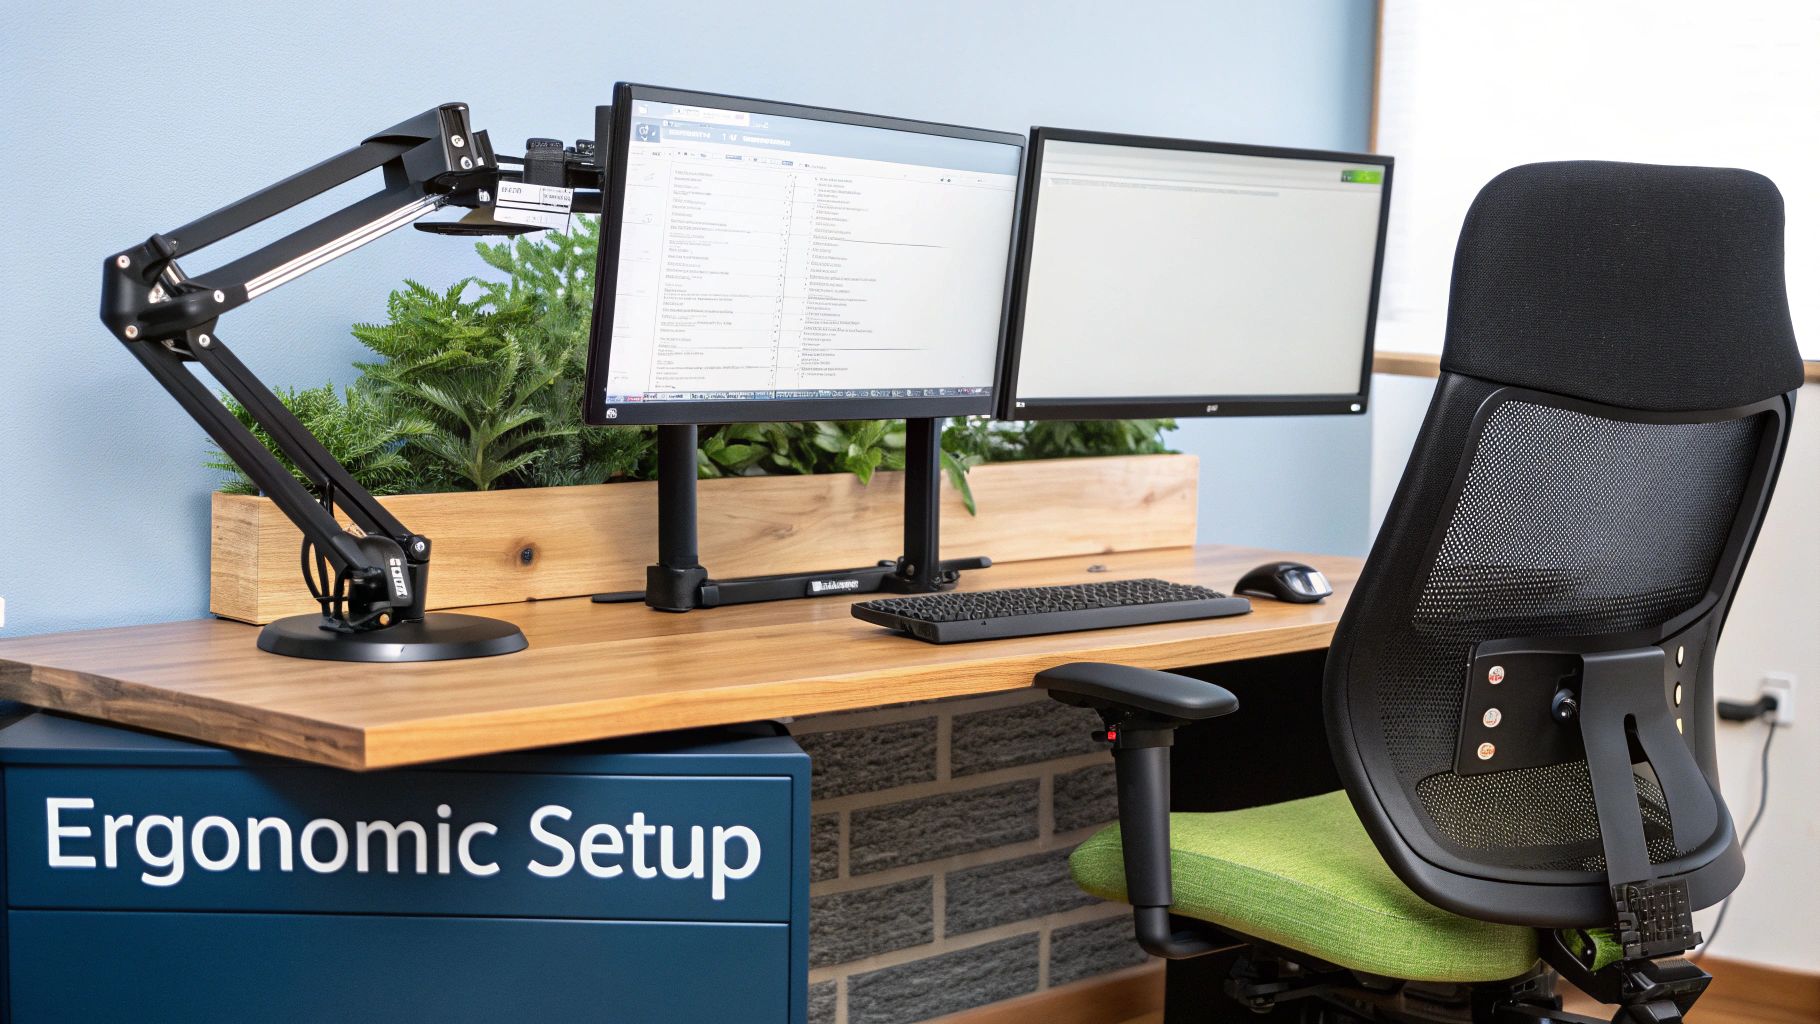
Your first big decision is how to position your screens. The plastic stands that come in the box are okay, but they usually lack the height and angle adjustments you need for proper ergonomic alignment. They also eat up a ton of valuable desk space.
This is exactly why monitor arms have become the standard for anyone serious about their setup. A good monitor arm clamps to your desk and lets you float your screens precisely where you need them—adjusting height, depth, and angle with just a light touch. It clears up your desk for a cleaner, more organized look and gives you a level of flexibility you just can't get otherwise.
The growing obsession with ergonomics is clear in the market trends. The monitor mounts industry was valued at around $2.5 billion in 2023 and is expected to rocket to $4.8 billion by 2032. This isn't just a niche product anymore; it shows how vital these tools have become for creating adjustable and space-saving setups at home and in the office. As monitors get better, mounts have become a key accessory for cutting down on physical strain and boosting productivity. You can dig into more data on this trend by reading the full report on the monitor mounts market.
The best workspace is one that feels invisible. When your monitors are positioned perfectly, you stop thinking about them and can fully immerse yourself in your tasks. Achieving this flow state is the ultimate goal of ergonomic design.
Finding Your Ergonomic Sweet Spot
To prevent strain, your monitors need to be positioned correctly in relation to your body. This isn’t a one-size-fits-all formula, but a set of principles you can apply to your specific desk and chair.
Here’s how to dial it in:
- Eye Level: The top edge of your main monitor should be at or just below your natural eye level. You shouldn't have to tilt your head up or crane your neck down. Stacking books is a classic DIY fix, but a monitor arm makes this adjustment a breeze.
- Distance: Sit back and find a comfortable distance where you can read text clearly without leaning in or squinting. A good rule of thumb is to keep the screens at least an arm's length away.
- Angle: Turn your monitors slightly inward to create a gentle curve around your field of view. This simple tweak minimizes how much your head and eyes have to move, which cuts down on fatigue over the day.
For a deeper dive into creating a healthier workspace, you might want to check out our guide on how to incorporate ergonomic design into your workspace. It’s packed with practical steps for optimizing your entire desk for long-term comfort.
Choosing the Right Physical Layout
A dual monitor setup isn't a single layout. The best way to arrange your screens depends entirely on your workflow. Each configuration has its own unique strengths for different kinds of tasks.
These are the three most popular layouts and when you might use them:
| Layout | Best For | Description |
|---|---|---|
| Side-by-Side | General multitasking, data comparison, most office work. | The classic dual monitor layout. It's intuitive and perfect for dragging windows between screens. |
| Stacked (Vertical) | Limited desk width, coding, and video editing timelines. | One monitor sits directly above the other. This frees up horizontal space and is great for long content. |
| Portrait Mode | Writing, coding, reading documents, and web browsing. | One or both monitors are rotated 90 degrees. It’s ideal for viewing long pages without endless scrolling. |
Example Scenario: A Data Analyst An analyst would probably love a side-by-side layout. They could have a massive spreadsheet open on their primary 27-inch monitor while keeping data visualization software and email visible on the secondary screen. This allows for seamless comparison and communication without ever minimizing their main workspace.
Example Scenario: A Web Developer A developer, on the other hand, could get a huge boost from a portrait mode monitor. They can see far more lines of code at once on the vertical screen, which means less scrolling. Their primary landscape monitor can be used for running the application and accessing developer tools.
Beyond just the monitors, keeping your physical environment in order is key for maintaining focus. A well-organized desk reduces mental clutter and sets you up for productivity. To take it a step further, look into these tips for creating a productive workspace. Taking a little time to fine-tune your monitor positions and layout is a small investment that pays off big in comfort and efficiency, every single day.
Connecting and Configuring Your Displays
Now that you've picked out your monitors and arranged your workspace, it’s time to bring everything to life. This is the fun part—where you physically connect the screens and tell your computer how you want to use them. Don't worry if you're not a tech wizard; this is a straightforward process whether you're on a Windows PC or a Mac.
First things first, let's do a quick physical check. Look at the back of your computer and identify its video output ports—you'll likely see HDMI, DisplayPort, or USB-C. Match these to the input ports on your new monitors.
Go ahead and plug in the cables, give the monitors some power, and then fire up your computer. In most cases, your operating system will automatically recognize the new displays. If you decided on a monitor arm, our complete guide on how to mount a monitor has all the nitty-gritty details for a secure and clean installation.
Configuring Your Displays in Windows
With everything plugged in, Windows makes it pretty simple to get organized. You’ll probably see your desktop background mirrored on both screens, but the goal is to create one massive, extended workspace.
Just right-click anywhere on your desktop and select "Display settings." A new window will pop up showing diagrams of your monitors, usually labeled "1" and "2." If a screen isn't showing up, scroll down and hit the "Detect" button.
Now you can dial in the specifics:
- Extend Your Desktop: Find the "Multiple displays" dropdown and choose "Extend these displays." This is the magic setting that lets you drag windows from one screen to the other.
- Arrange Your Monitors: Click and drag the little monitor icons (1 and 2) so they match the physical layout on your desk. This is a crucial step! Getting it right means your mouse will move seamlessly between them.
- Set Your Primary Display: Decide which monitor you want as your main screen—the one where your Start menu and primary icons will live. Click on that monitor's icon, then scroll down and check the box that says, "Make this my main display."
Configuring Your Displays on a Mac
The process is just as user-friendly on macOS. After you plug in your second monitor, your Mac will likely default to mirroring, which shows the exact same thing on both screens. To fix that and get an extended desktop, you just need a quick trip into your settings.
Head over to System Settings (or System Preferences on older macOS versions) and click on "Displays." You'll see a separate settings window appear on each of your connected monitors.
Here's how to set up your extended desktop:
- In the main Displays window, click the "Arrangement" tab.
- Uncheck the "Mirror Displays" box. Just like that, you've created an extended desktop.
- Now, drag the blue monitor icons around to match how they sit on your actual desk. You’ll notice a white bar at the top of one icon—that’s your primary display. Simply drag that bar over to the other monitor if you want to switch your main screen.
A quick tip for Mac users: macOS loves displays where the physical resolution is double the logical resolution (like a 4K screen running at a logical 1080p). This creates incredibly sharp text in what Apple calls "HiDPI" or "Retina" mode.
Adjusting Scaling and Resolution
Sometimes, especially if you're mixing and matching monitors of different sizes or resolutions, things can look... weird. Text and icons might be massive on one screen and tiny on the other. Both Windows and Mac have built-in scaling options to solve this.
In Windows Display settings, just select one of the monitors and use the "Scale" dropdown menu to tweak the size of text and apps. For high-resolution 4K monitors, a setting of 125% or 150% is pretty common to keep things readable.
On a Mac, the Displays settings give you several "Looks like" options, ranging from "Larger Text" to "More Space." These simply adjust the logical resolution to make the user interface bigger or smaller.
Troubleshooting a Common Snag: Monitor Not Detected
If one of your monitors is stubbornly showing a "No Signal" message, don't panic. This happens. Start with the basics: check that the video cables are plugged in firmly on both ends—at the computer and the monitor.
Next, use the monitor's own menu buttons to make sure it's set to the correct input source (e.g., HDMI 1, DisplayPort). And if all else fails, the oldest trick in the book often works: a simple computer restart can force it to detect the displays properly.
Mastering Your New Workspace with Pro Tools
Alright, your monitors are on and the basics are configured. Now the real fun begins. Simply having two screens is a great first step, but learning to wrangle them with smart software and a few clever shortcuts is what takes a setup from good to a hyper-efficient command center. This is where you graduate from just having more screen space to building a workspace that feels like a natural extension of your brain.
The entire goal here is to eliminate friction. Every single time you have to stop what you're doing to manually resize a window or drag an application from one screen to the other, you lose a tiny bit of focus. With the right tools, those actions become instantaneous—almost subconscious—letting you stay completely immersed in your actual work.
Unleash the Power of Window Management
The secret weapon in almost every power user's toolkit is a good window management utility. I can't stress this enough. These simple apps give you the power to instantly snap your programs into perfect, predefined layouts with a single keyboard shortcut. It’s an absolute game-changer for staying organized.
If you're on Windows, FancyZones is a must-have. It’s baked right into Microsoft’s free PowerToys suite and lets you design custom grid layouts tailored to your workflow. You could create a large central zone for your main project, flanked by two smaller vertical zones for your email and reference docs.
Mac users have fantastic options too, often turning to apps like Magnet or Rectangle. They deliver similar magic, letting you snap windows into halves, thirds, or quarters of your screen with quick keyboard commands or by dragging them to the screen edges.
Once you get used to a window manager, you'll honestly wonder how you ever functioned without one. The ability to instantly arrange four different app windows into a perfect grid with a few keystrokes is the kind of efficiency boost that genuinely saves you a surprising amount of time and mental energy throughout the day.
Keyboard Shortcuts and Workflow Strategies
Beyond dedicated software, learning a few key keyboard shortcuts can drastically speed things up. Moving apps between screens becomes effortless, which means your hands stay on the keyboard and your mind stays locked on your task.
Here are a few essential shortcuts and strategies I use all the time:
-
Move Active Window (Windows): The
Win + Shift + Left/Right Arrowshortcut is your new best friend. It instantly sends the current window to the next monitor. No dragging required. -
Cycle Through Apps (Mac): While
Cmd + Tabis great for switching apps, you can use your window management software to assign custom shortcuts for moving windows between displays. - Task-Specific Layouts: Think about the different hats you wear. Create dedicated layouts for different jobs. For instance, my "writing" layout has my main document front-and-center with research material on the second screen. A "meeting" layout might feature the video call on one display and my notes on the other.
This level of organization ensures your physical setup and your digital environment are perfectly in sync. And while we've focused heavily on the digital side, don't forget that a comfortable posture is just as crucial. To dive deeper into that, check out our complete guide to master dual monitor ergonomics for comfort and productivity.
Personalizing Your Digital Space
Finally, make the space feel like your own. A dual monitor setup gives you a massive digital canvas to play with. A simple trick is to set different wallpapers for each monitor to visually separate your "work" screen from your "personal" or "communication" screen.
In Windows, just right-click your desktop, choose Personalize, head to Background, and then right-click on an image to assign it to a specific monitor. It’s a small touch, but it really helps create distinct mental zones for your tasks.
To truly round out your high-efficiency workspace, you might want to explore other productivity tools for professionals that can complement your new setup. By combining powerful hardware with smart software and these personalized touches, you create a dual monitor environment that doesn't just give you more space—it gives you more focus.
Common Questions About Dual Monitor Setups
Once you decide to go with two monitors, a few questions almost always pop up. I’ve seen it time and again. Getting the right answers from the get-go will save you a ton of hassle, so let's walk through some of the most common things people ask.
The first one is usually about hardware, especially if you're trying to build on a budget by using a monitor you already own.
Can I Use Two Monitors with Different Resolutions or Sizes?
Yes, you absolutely can. This is a huge relief for anyone who already has one perfectly good monitor and just wants to add a second one. Modern operating systems like Windows and macOS handle mixed-resolution setups without breaking a sweat. Each screen will run at its native resolution, so you can pair that old 1080p monitor with a shiny new 4K one.
There is one little quirk to be aware of, though. When you drag a window from a high-resolution screen to a lower-resolution one, you'll see it jump in size due to the difference in pixel density. It's not a deal-breaker, but it can feel a bit jarring. You can play with the display scaling settings in your OS to make the transition smoother.
For the most seamless experience, two identical monitors are the gold standard. But it's far from a requirement. A mixed setup is still a massive productivity booster.
Will a Dual Monitor Setup Slow Down My Computer?
This is a totally valid concern. Adding another display does ask your computer's Graphics Processing Unit (GPU) to do a bit more work. But for most of us, the impact is so small you won't even notice it.
If you’re doing everyday office tasks—we're talking web browsing, email, spreadsheets, and documents—any reasonably modern computer can handle two screens effortlessly.
The story changes if you're into heavy-duty creative work or gaming. Trying to run a AAA game on one screen while rendering a 4K video on the other might tax an entry-level GPU. But for the vast majority of users, the performance dip is negligible compared to the massive upside in workflow efficiency.
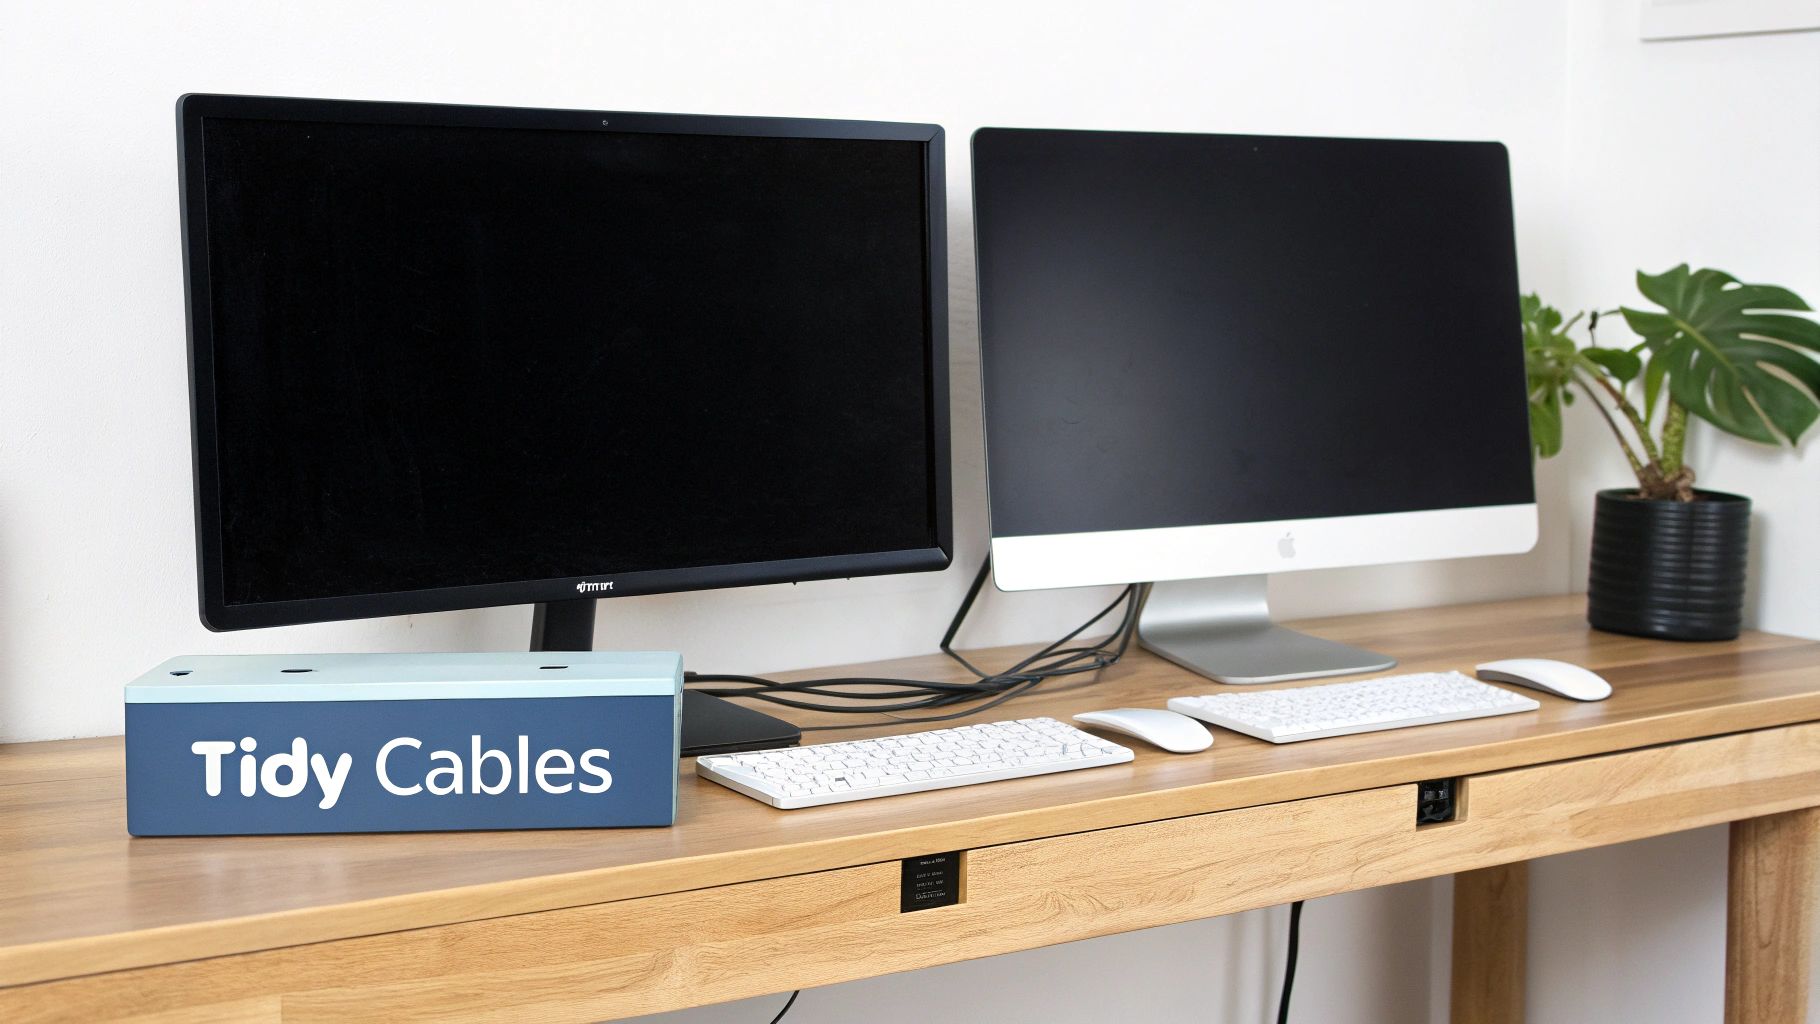
What Is the Best Way to Manage Cables for a Clean Look?
A clean desk just feels better to work at, and wrangling your cables is the final boss of creating that pro-level setup. It’s what separates a good workspace from a great one.
Here are a few tricks I’ve picked up over the years:
- Get the Right Length: Start with cables that are just long enough. Too short is a problem, but excessively long cables create a ton of slack you have to hide.
- Bundle and Sleeve: Group cables that are heading in the same direction. Use simple velcro ties or a slick cable sleeve to turn that rat's nest into a single, clean line.
- Use the Right Gear: This is where the magic happens. A quality monitor arm with built-in cable channels is your best friend. Combine that with an under-desk cable tray, and you can make power strips and adapters completely disappear. The principles are the same whether it's for monitors or TVs; you can learn more about TV mounting solutions and see how pros tackle cable management for any screen.
How Can I Connect Two Monitors if My Laptop Has Only One HDMI Port?
This is easily the most common roadblock people run into, especially with today's super-thin laptops that are stingy with ports. Don't worry, you have some excellent options.
The go-to solution for most people is a docking station or a USB-C hub. These awesome little boxes plug into a single port on your laptop—usually a USB-C or Thunderbolt port—and give you a whole new set of outputs, often including multiple HDMI or DisplayPort connections. Just make sure the dock you buy explicitly says it supports dual displays at the resolutions you need.
Another great option is a USB-to-video adapter. Think of it as a tiny, external graphics card. It plugs into a standard USB port and gives you an extra video output. It’s a dead-simple way to get that second monitor up and running when you've run out of dedicated video ports.
Ready to build a workspace that boosts your focus and comfort? At Mount-It, we believe in empowering you with smart, simple solutions. From ergonomic monitor arms that free up your desk to sit-stand desks that keep you energized, we have everything you need. Explore our full collection and start designing your ideal setup today at https://www.mount-it.com.